Wig Care & Sourcing Guide
How to Customize a Wig Hairline: Pro Tips for a Natural Look
Learn how to customize a wig hairline for a flawless, natural appearance. Step-by-step guide with pro tips for plucking, melting, and more.
Learning how to customize a wig hairline is essential for achieving a realistic, undetectable look. A factory-made hairline often looks too straight and dense, which instantly gives away that you're wearing a wig. With a few simple techniques, you can transform it into a natural, seamless finish.
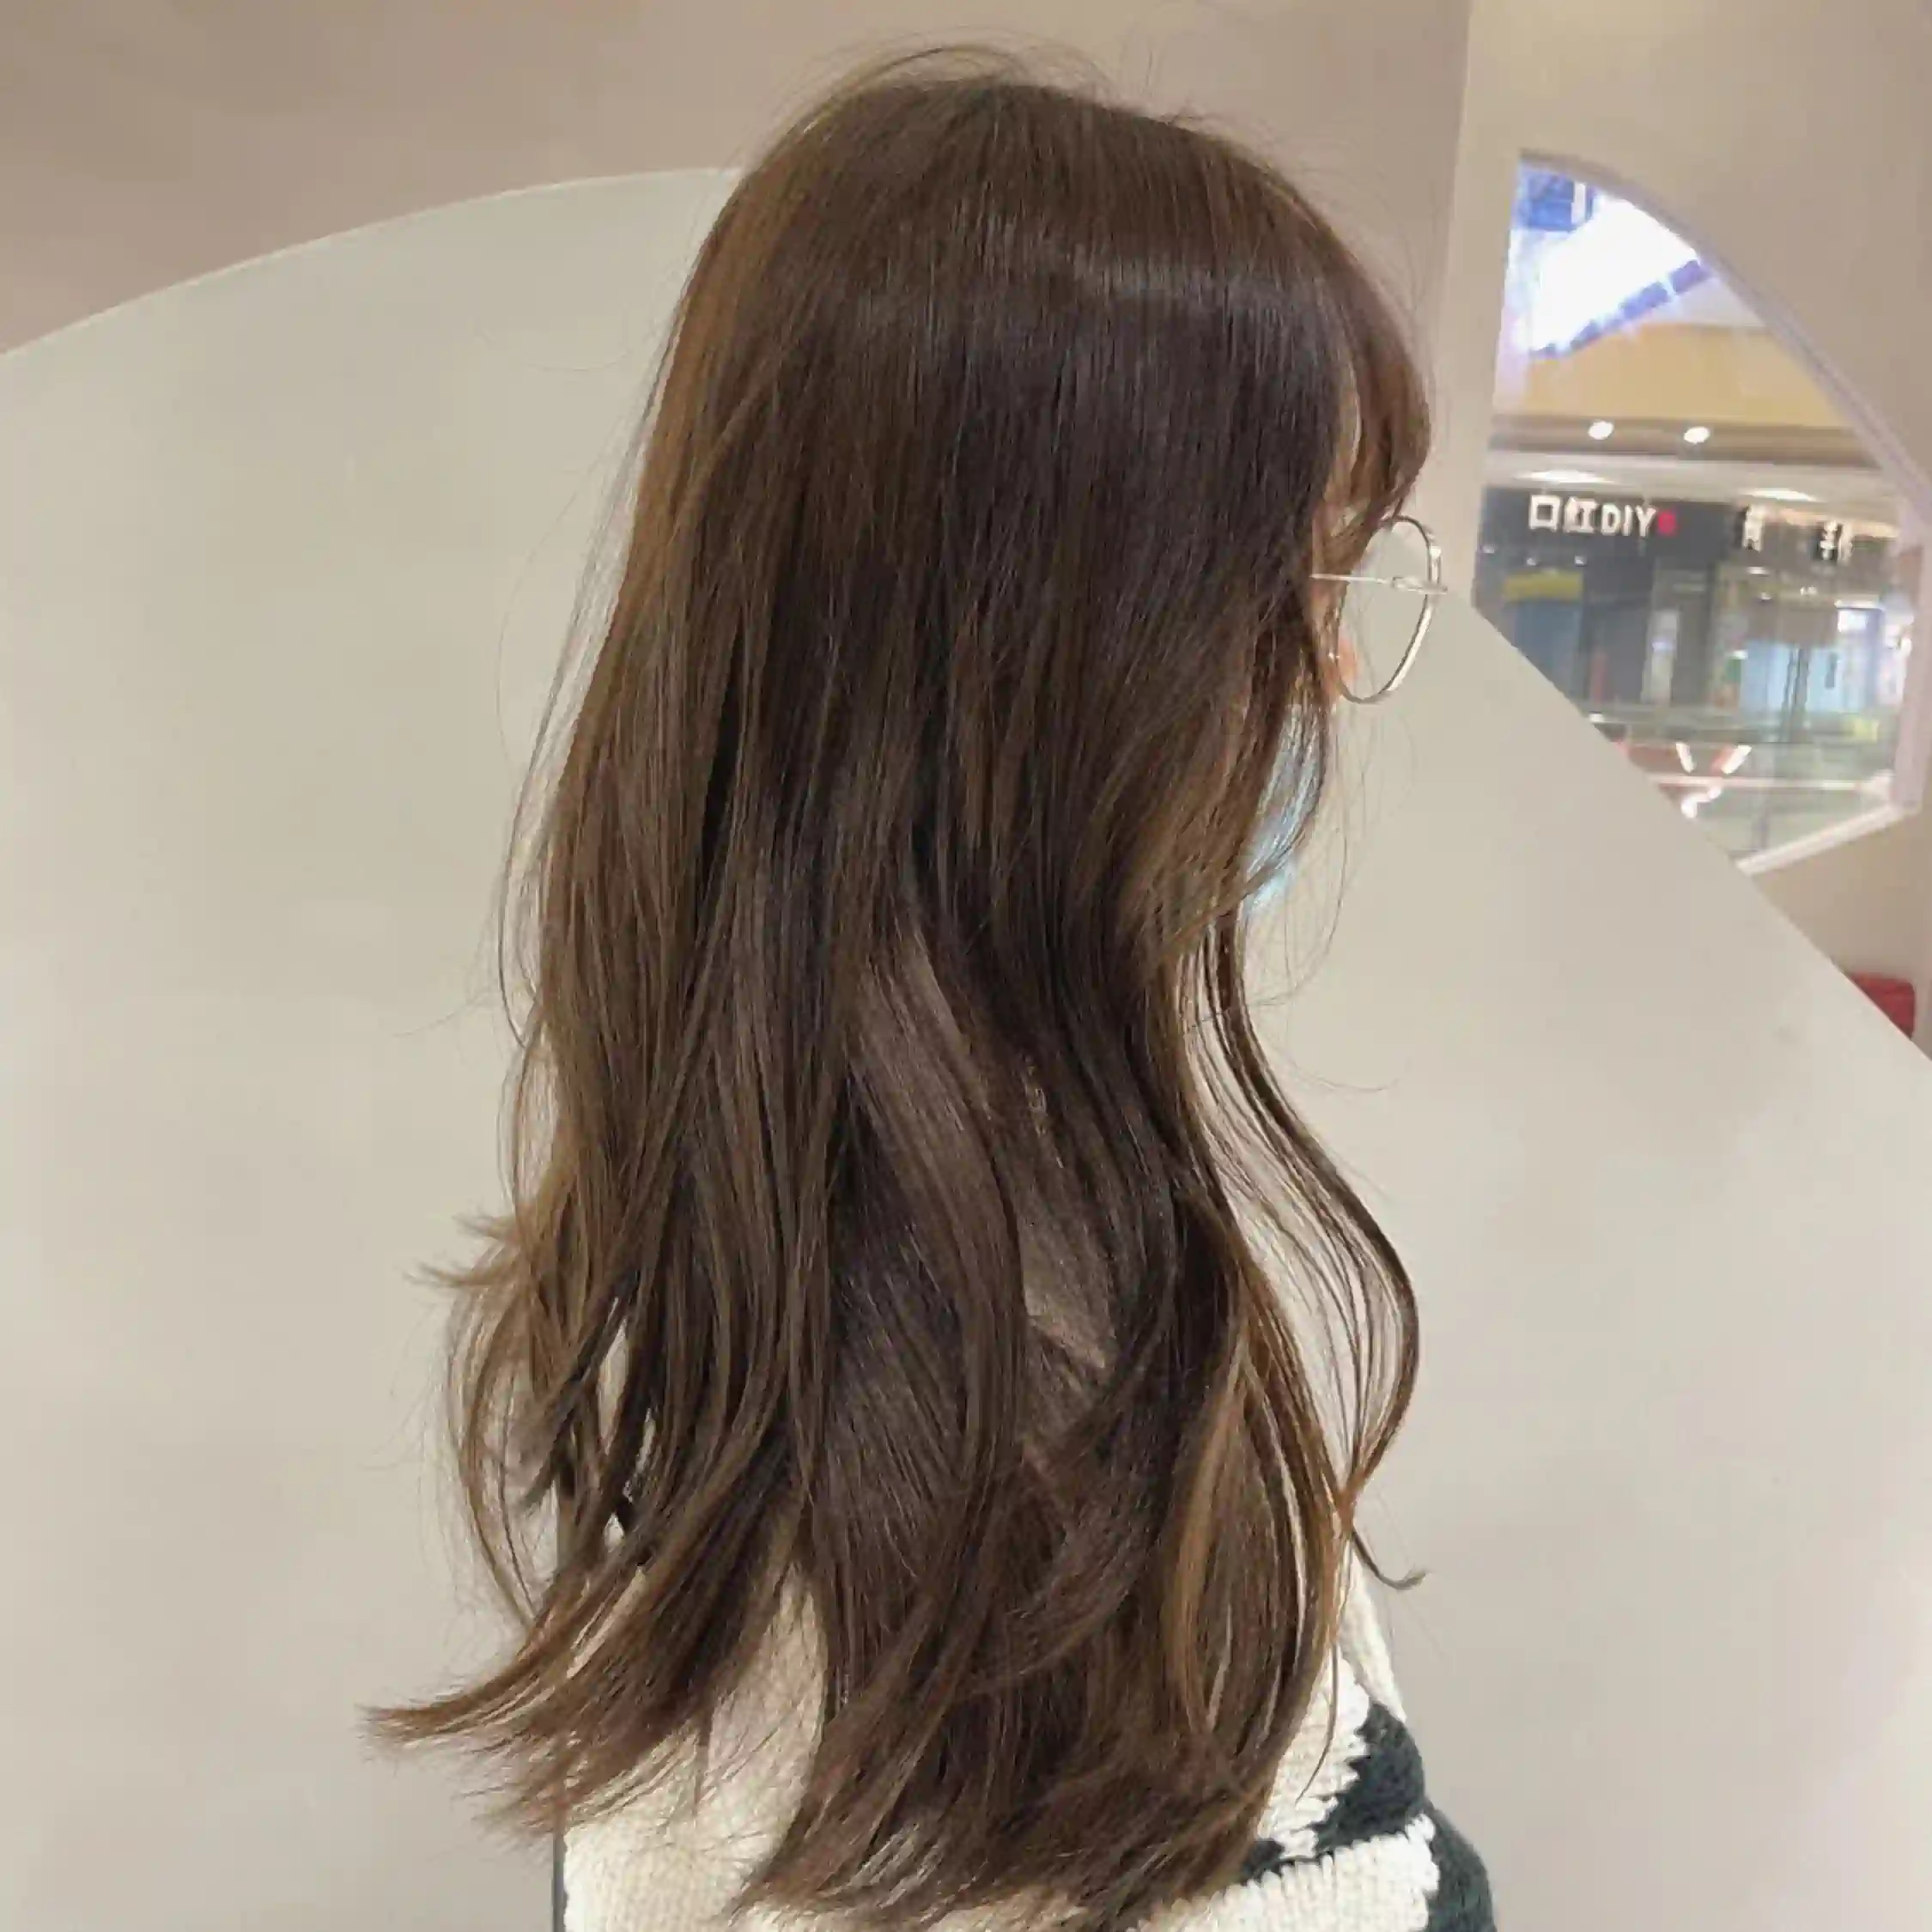
Pluck the Baby Hairs
Start by plucking sparse strands along the front edge. Use tweezers to remove hairs in a zigzag pattern, creating irregular spacing. This mimics natural growth and softens the hairline.
Customize the Lace Front
To customize a wig hairline further, trim the lace close to the knots, but leave a tiny margin. Apply foundation or concealer that matches your scalp tone directly onto the lace to blend it with your skin.
Use Heat to Melt the Lace
For an invisible finish, use a heated flat iron or a hairdryer on a low setting to press the lace down. Follow with a lace adhesive or gel to secure it firmly. Finally, style the baby hairs with a small brush and edge control for a soft, realistic frame.
With practice, how to customize a wig hairline becomes a quick skill that elevates your entire look. Always test products on a small section first to avoid damage.
Related searches:wig-hairline|natural-wig-hairline|lace-front-wig-tips|wig-baby-hairs|wig-melting